Add custom data to a token.
Metadata is a Bitxor feature that can be used to attach information about tokens. For example, small pieces of data such as legal name, ticker, or ISIN, can be assigned as on-chain metadata, while sizable documents, like the prospectus or investor agreement, can be kept off-chain.
In this tutorial, you are going to implement a program to add relevant data to a token.
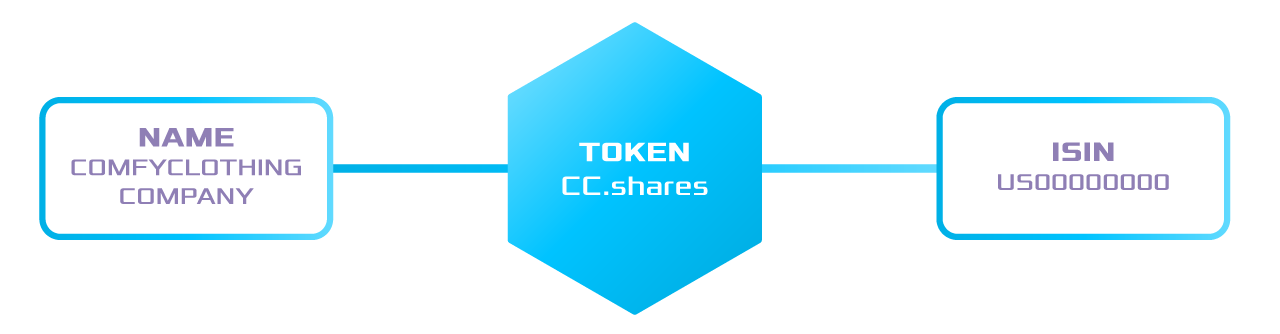
Imagine that the company ComfyClothingCompany has applied for an ISIN code to conduct an STO.
After receiving the code US0000000000, the company decided to represent the company shares creating a token named cc.shares.
Before distributing the shares between the investors, ComfyClothingCompany wants to attach its ISIN code and legal name to the shares definition.
Complete the getting started section.
Create a new account.
Load the account with enough bitxor to pay for transaction fees, create tokens and register namespaces.
Now that you have created cc.shares, define two TokenMetatadaTransaction to add the ISIN and legal name to the token:
Key: ISIN, Value: US00000000.
// replace with network type
const networkType = NetworkType.TEST_NET;
// replace with company private key
const companyPrivateKey =
  'AAAAAAAAAAAAAAAAAAAAAAAAAAAAAAAAAAAAAAAAAAAAAAAAAAAAAAAAAAAAAAAA';
const companyAccount = Account.createFromPrivateKey(
  companyPrivateKey,
  networkType,
);
// replace with token id
const tokenId = new NamespaceId('cc.shares');

const isin = 'US00000000';
const isinMetadataTransaction = TokenMetadataTransaction.create(
  Deadline.create(epochAdjustment),
  companyAccount.address,
  KeyGenerator.generateUInt64Key('ISIN'),
  tokenId,
  isin.length,
  isin,
  networkType,
);
// replace with network type
const networkType = bitxor_sdk_1.NetworkType.TEST_NET;
// replace with company private key
const companyPrivateKey =
  'AAAAAAAAAAAAAAAAAAAAAAAAAAAAAAAAAAAAAAAAAAAAAAAAAAAAAAAAAAAAAAAA';
const companyAccount = bitxor_sdk_1.Account.createFromPrivateKey(
  companyPrivateKey,
  networkType,
);
// replace with token id
const tokenId = new bitxor_sdk_1.NamespaceId('cc.shares');
const isin = 'US00000000';
const isinMetadataTransaction = bitxor_sdk_1.TokenMetadataTransaction.create(
  bitxor_sdk_1.Deadline.create(epochAdjustment),
  companyAccount.address,
  bitxor_sdk_1.KeyGenerator.generateUInt64Key('ISIN'),
  tokenId,
  isin.length,
  isin,
  networkType,
);
Key: NAME, Value: ComfyClothingCompany.
const name = 'ComfyClothingCompany';
const nameMetadataTransaction = TokenMetadataTransaction.create(
  Deadline.create(epochAdjustment),
  companyAccount.address,
  KeyGenerator.generateUInt64Key('NAME'),
  tokenId,
  name.length,
  name,
  networkType,
);
const name = 'ComfyClothingCompany';
const nameMetadataTransaction = bitxor_sdk_1.TokenMetadataTransaction.create(
  bitxor_sdk_1.Deadline.create(epochAdjustment),
  companyAccount.address,
  bitxor_sdk_1.KeyGenerator.generateUInt64Key('NAME'),
  tokenId,
  name.length,
  name,
  networkType,
);
2. All metadata is attached only with the consent of the token creator through Aggregate Transactions. Wrap the metadata transactions inside an AggregateCompleteTransaction and sign the aggregate with the company’s account.
const aggregateTransaction = AggregateTransaction.createComplete(
  Deadline.create(epochAdjustment),
  [
    isinMetadataTransaction.toAggregate(companyAccount.publicAccount),
    nameMetadataTransaction.toAggregate(companyAccount.publicAccount),
  ],
  networkType,
  [],
  UInt64.fromUint(2000000),
);
const aggregateTransaction = bitxor_sdk_1.AggregateTransaction.createComplete(
  bitxor_sdk_1.Deadline.create(epochAdjustment),
  [
    isinMetadataTransaction.toAggregate(companyAccount.publicAccount),
    nameMetadataTransaction.toAggregate(companyAccount.publicAccount),
  ],
  networkType,
  [],
  bitxor_sdk_1.UInt64.fromUint(2000000),
);
Note
In this example, the account signing the transaction is the creator of the token. For that reason, the aggregate can be defined as complete. If a different account owned the token, you would set the aggregate as bonded, and the token creator would opt-in the metadata request by cosigning the transaction.
Sign and announce the AggregateTransaction to the network.
// replace with meta.networkGenerationHash (nodeUrl + '/node/info')
const networkGenerationHash =
  '1DFB2FAA9E7F054168B0C5FCB84F4DEB62CC2B4D317D861F3168D161F54EA78B';
const signedTransaction = companyAccount.sign(
  aggregateTransaction,
  networkGenerationHash,
);
console.log(signedTransaction.hash);

// replace with node endpoint
const nodeUrl = 'NODE_URL';
const repositoryFactory = new RepositoryFactoryHttp(nodeUrl);
const transactionHttp = repositoryFactory.createTransactionRepository();

transactionHttp.announce(signedTransaction).subscribe(
  (x) => console.log(x),
  (err) => console.error(err),
);
// replace with meta.networkGenerationHash (nodeUrl + '/node/info')
const networkGenerationHash =
  '1DFB2FAA9E7F054168B0C5FCB84F4DEB62CC2B4D317D861F3168D161F54EA78B';
const signedTransaction = companyAccount.sign(
  aggregateTransaction,
  networkGenerationHash,
);
console.log(signedTransaction.hash);
// replace with node endpoint
const nodeUrl = 'NODE_URL';
const repositoryFactory = new bitxor_sdk_1.RepositoryFactoryHttp(nodeUrl);
const transactionHttp = repositoryFactory.createTransactionRepository();
transactionHttp.announce(signedTransaction).subscribe(
  (x) => console.log(x),
  (err) => console.error(err),
);
When the transaction gets confirmed, fetch the token metadata entries.
Open a terminal window and run the following command.
Replace BXR6YD-BC3BW2-ZYXOXC-HHIRDV-MEZUIP-BRISYI-TPQ with the token owner address, 2C08D5EDB652AA79 with the target token id.
Then, change BC2FC3ACFF58FF89 with a key, and US00000000 with the value you want to attach as metadata.
Note
You can use the command bitxor-cli converter stringtokey to transform an string (e.g. ISIN) into a valid UInt64 key (2C08D5EDB652AA79).
bitxor-cli transaction tokenmetadata --target-address BXR6YD-BC3BW2-ZYXOXC-HHIRDV-MEZUIP-BRISYI-TPQ --token-id 2C08D5EDB652AA79 --key BC2FC3ACFF58FF89 --value US00000000